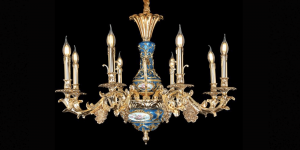
A Basic Guide On French Chandeliers Looking to upgrade your interior into something extraordinary? Try a trendy look yet stay connected to the royal fixtures this…
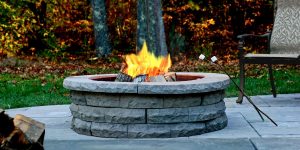
Top Things to Know Before Choosing a Fire Pit Either you buy a fully prepared version or collaborate with a specialized designer to create one that will be unique…
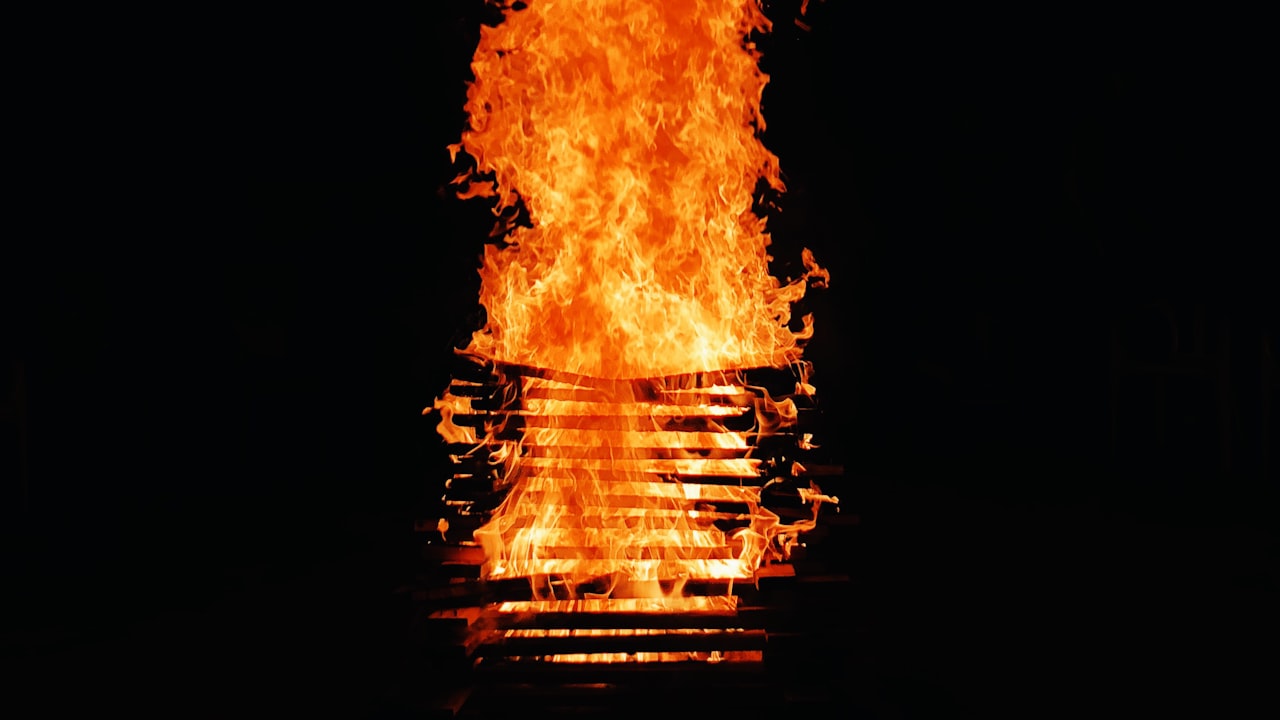
Easy Steps For Creating a Fire Pit You can make your summer the most enjoyable and memorable one ever with a simple addition to your yard- a…
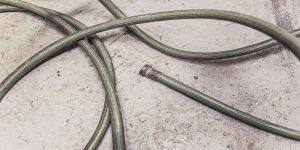
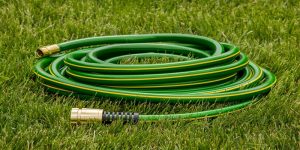
Why it’s About Time You Get a Garden Hose Reel A garden hose is a must-have tool for any household. You use it to water your plants, wash your car,…
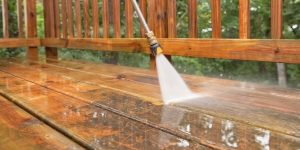
Giraffe Power Washer and Key Instructions There are lots of instructions needed to be taken into consideration when using the giraffe power washer. These instructions might…
How to Neatly Keep Your Garden Hose After your garden hose has been successfully delivered to you through free shipping, it would be very wrong to store…
Looking at the Dynamics of Soccer Lights Soccer is a beautiful sport that has warmed the heart of billions of people all over the world. If you…